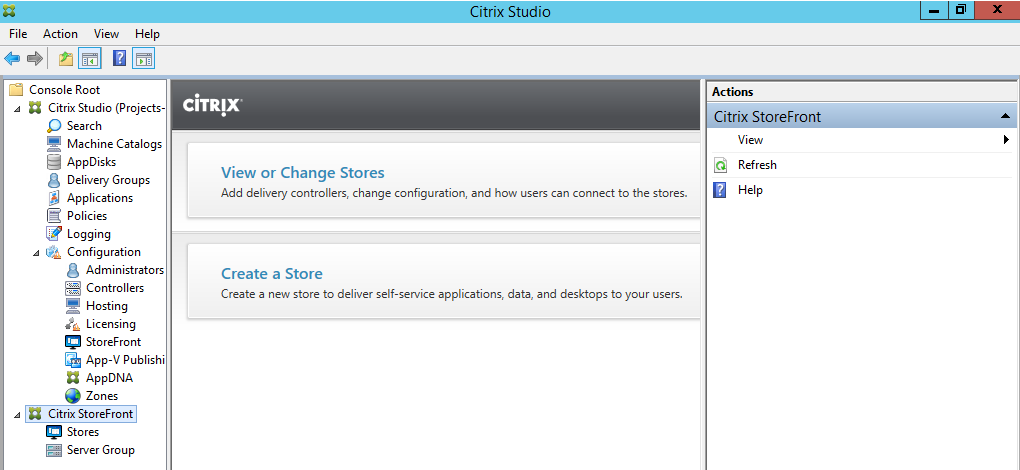
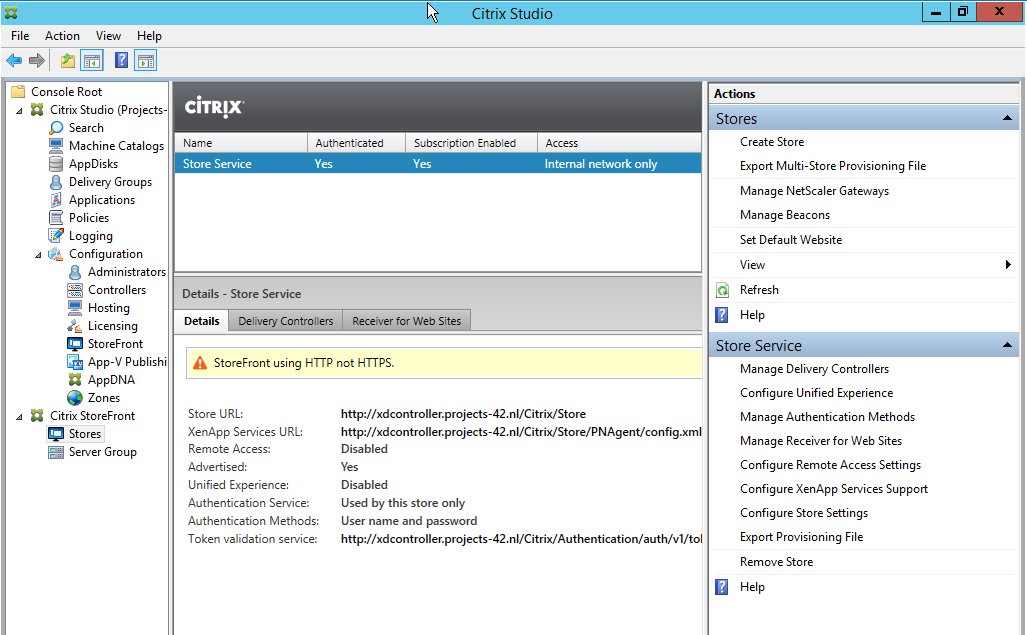
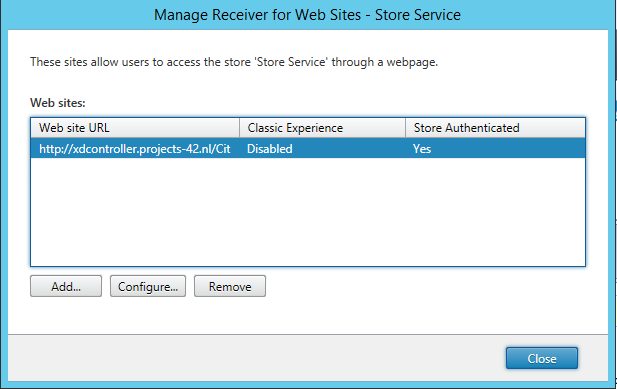
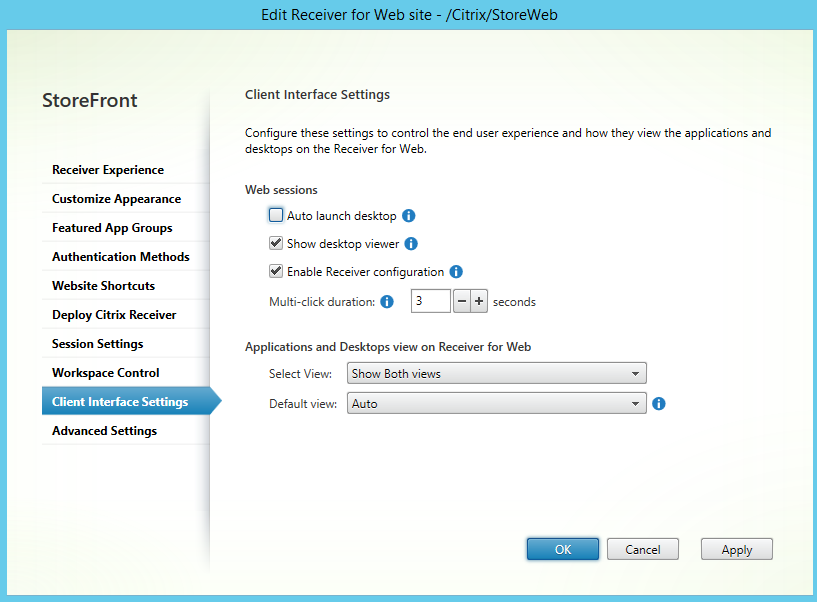
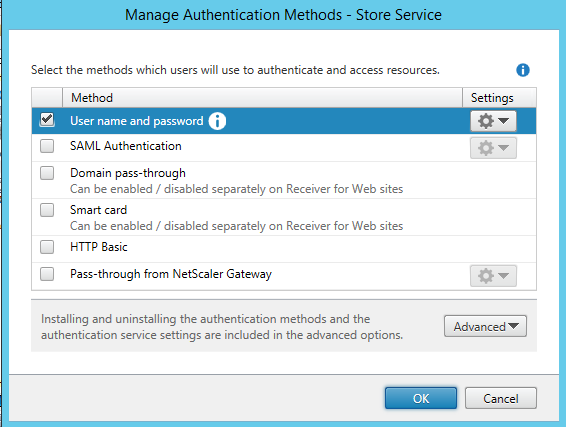
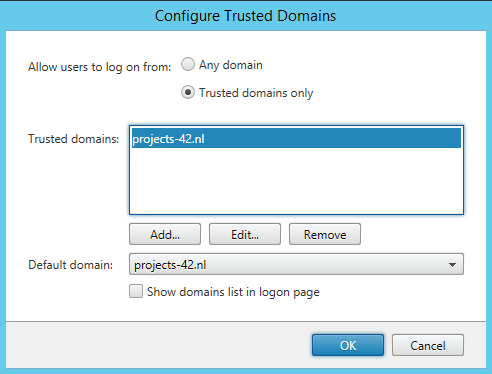
In the first part of this series of articles about Xendesktop, we have installed a delivery controller and configured a empty site. In part 2 we will be configuring Citrix Storefront for use with the Receiver for web application and we will setup the necessary policy’s. This will greatly improve the enviroment for testing purposes because we wont have to install or reconfigure the Citrix Receiver application every time we want to test something.

When we start Citrix studio, there are two snap-ins loaded: Citrix Studio and Citrix storefront. When we click on The storefront snap-in we get the option to view or change stores or create a new store. Citrix adds a store by default so Click on “View or Change Stores“.


The next screen gives a list of available stores and some basic information about the selected store. We want to enable the HTML5 Receiver. to do this, Click the “Manage Receiver for Web Sites” link on the lower right site of the screen.


After clicking the link the above window appears. Click the Configure… button to continue.


Select the “Deploy Citrix Receiver” tab and choose “Always use Receiver for HTML5” at the Deployment options drop down.


Click on the “Client Interface Settings” tab and deselect “Auto launch desktop” under Web sessions, otherwise every time you open the receiver page it will attempt to launch the first available desktop. Click OK to close the dialog. Click Close on the next dialog.


Now we want to setup the default domain, this step is not necessary but it will save the trouble of retyping the domain name every time we want to login to the receiver. Click “Manage Authentication Methods” at the bottom right of the screen.


Click the gear icon next to the “User name and password” method and click on “Configure Trusted Domains”.


Select “Trusted domains only” if you only want to allow logon attempts for trusted domains. Click on Add… and type the name of your domain. Click OK to close the dialog. If you have multiple domains you can check the show domains list in logon page checkbox. Click OK to close the dialog and click OK again to close the second dialog.

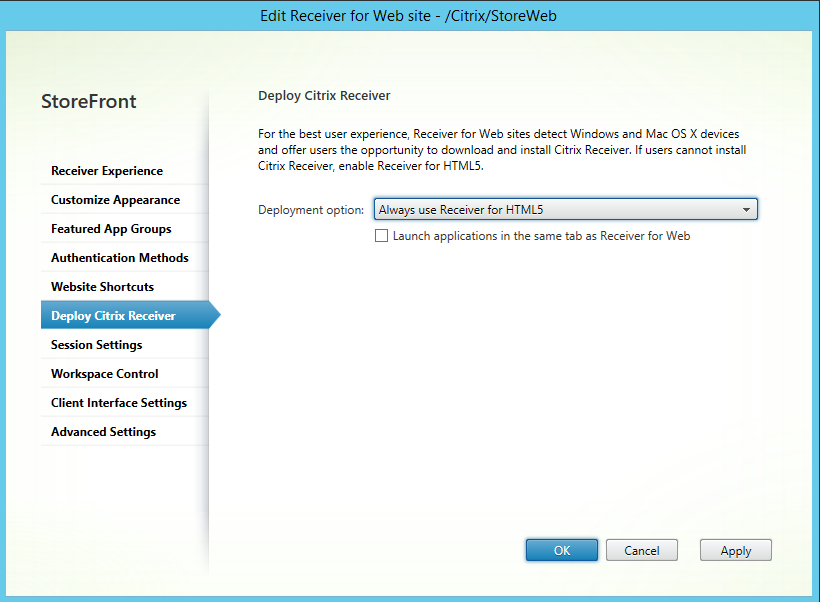
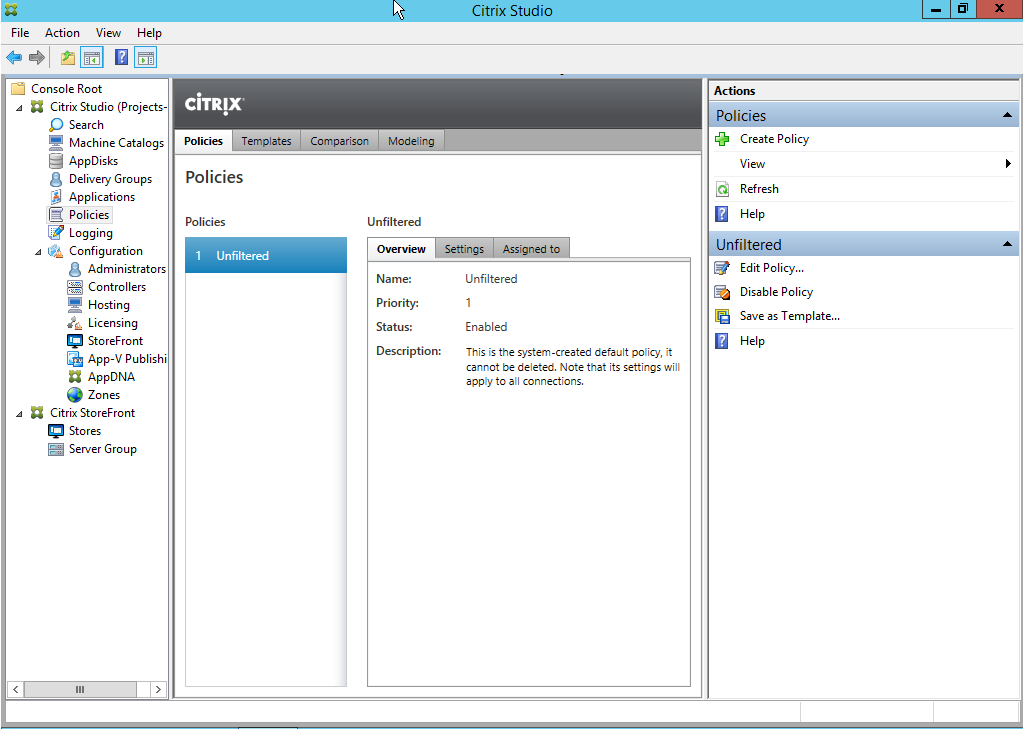
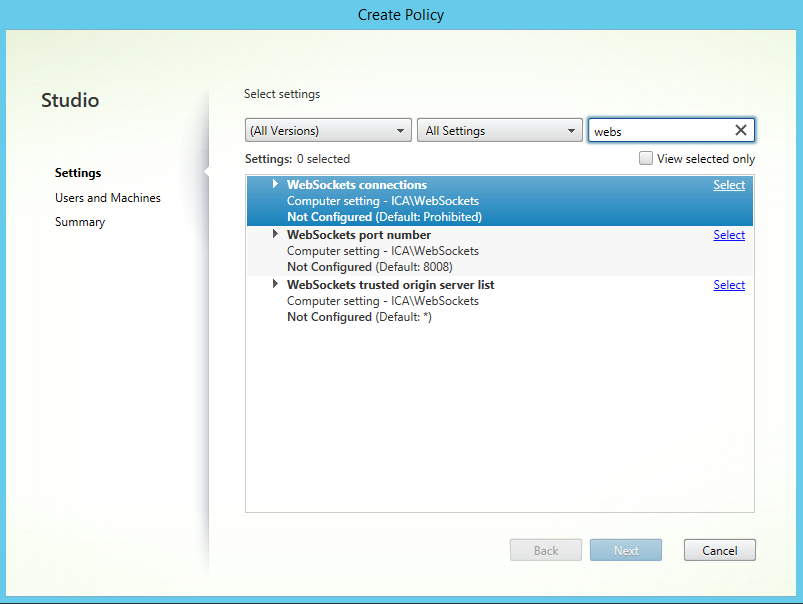
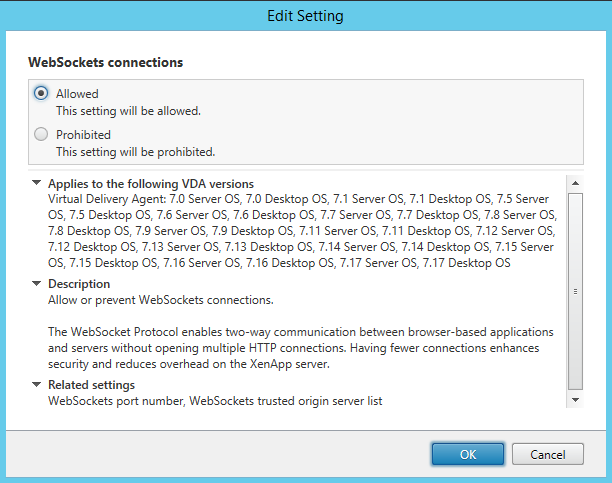
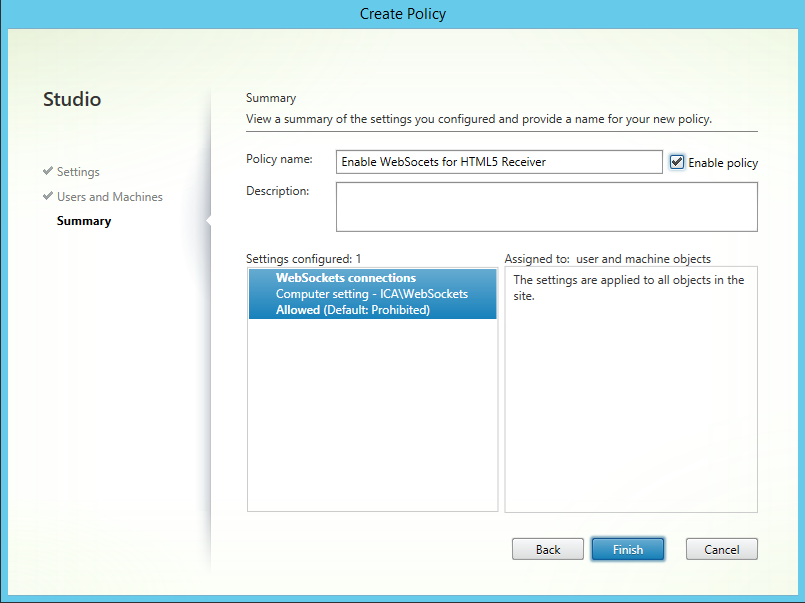
Now we have Storefront ready to go, we still have to set a policy to allow WebSocket connections to all Xendesktop and Xenapp systems. Without WebSockets enabled we wont be able to use the HTML5 Receiver.

In Citrix Studio, navigate to the Policies section and click Close to close the welcome message.


This section of Citrix Studio gives an overview over the applied policies. We want to create a new policy to do this, click the Create Policy link at the right side of the screen.


After clicking the Create Policy button, the Create Policy wizard pops up. We want to enable WebSockets, so we search for “webs” or something like it. There are 3 settings shown: Allow connections, port numbers and trusted origins. for the testing purposes we only need to enable WebSockets. Press the Select link after the WebSockets connection setting.


At the Edit Setting dialog Click the Allowed radio button and click OK. Click Next on the Create Policy wizard to continue with the wizard.


Click the “All objects in the Site” radio button on the “Users and Machines” tab. If you only want to use the HTML5 receiver on specific systems or desktop groups you can also do this with the “Selected users and machine objects” option. But in this case we want all systems to be able to use WebSockets. Click Next to continue.


Add a name for the Policy and check the Enable policy checkbox. Click Finish to activate the policy.


Now we can logon to StoreFront. browse to the web-store URL and login with an AD account. You will be presented with the above screen. Since we don’t have applications or desktops the screen is empty.

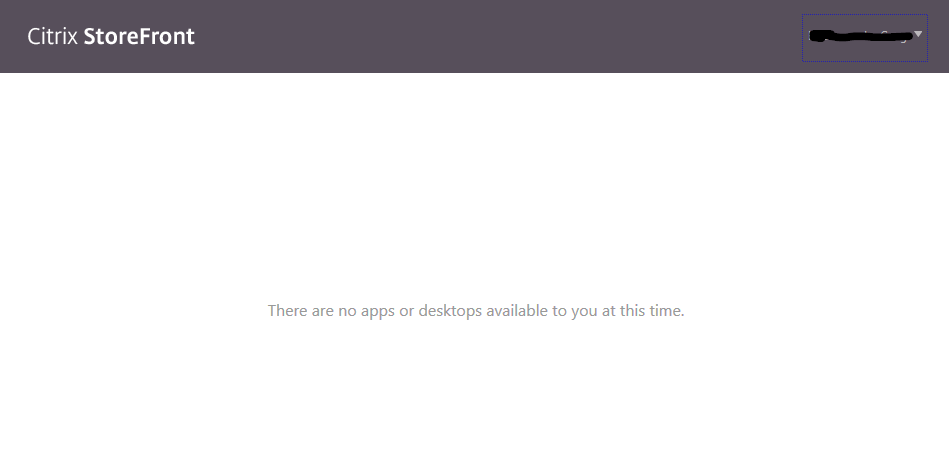
In the next part we will be adding a Desktop to the mix.