Citrix Xendesktop is the remote desktop solution from Citrix. Since version 7 it is completely integrated with Xenapp, the terminal server like solution from Citrix. Together these solutions are capable to overcome (almost) every workplace virtualization challenge.

I have not updated my home lab enviroment in a long time, it was still running Xenapp 7.5. And because I have a number of Xendesktop projects planned I will be setting up a brand new Xendesktop 7.17 enviroment, this setup will include all Xenapp components.

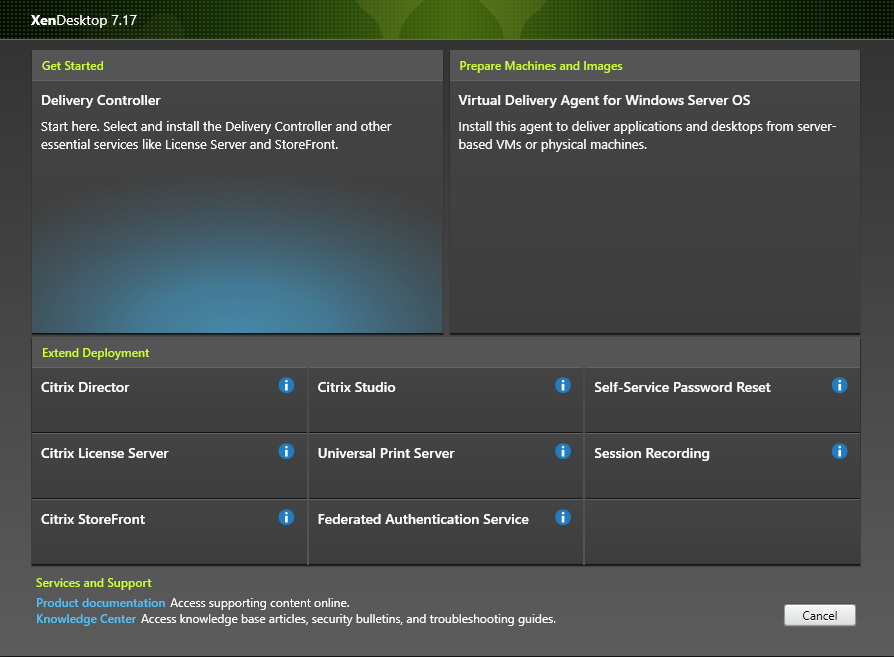
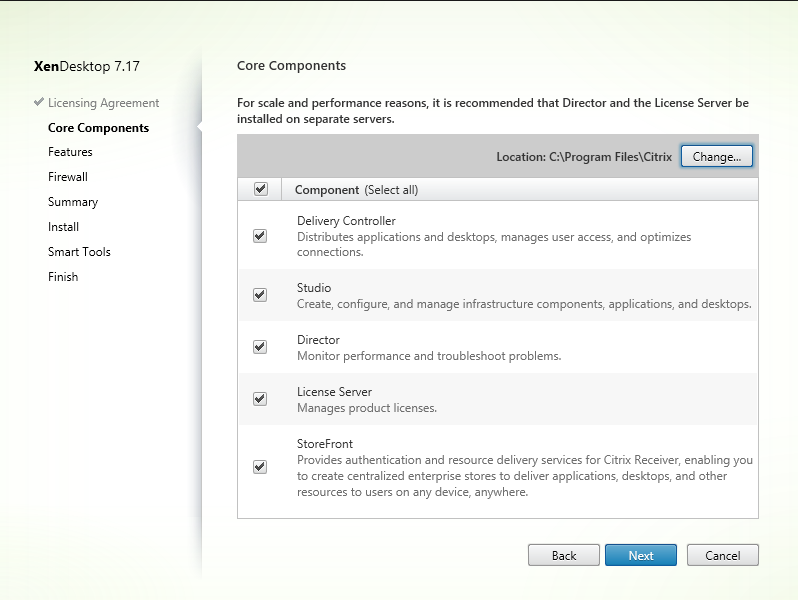
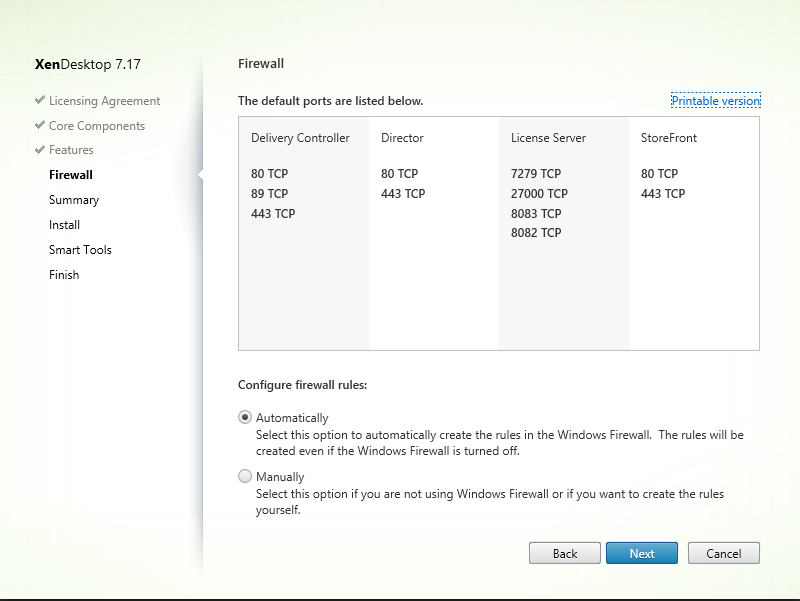
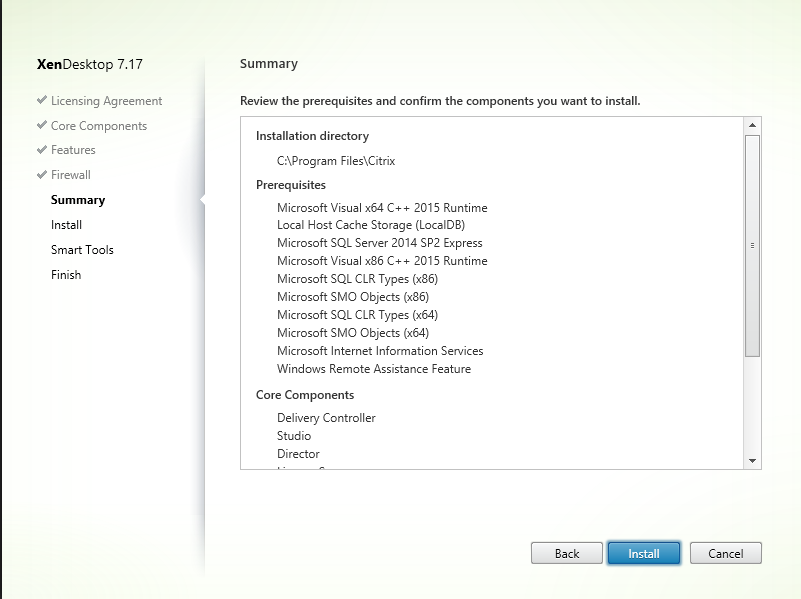
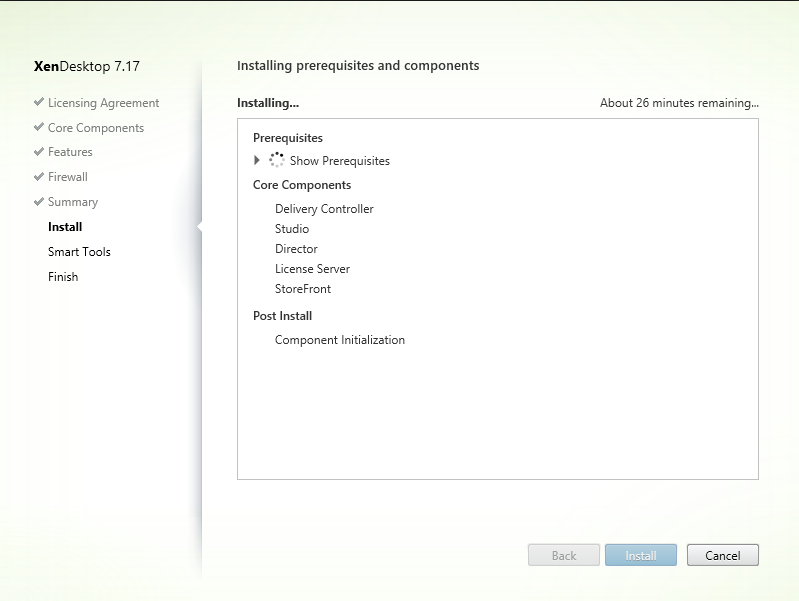
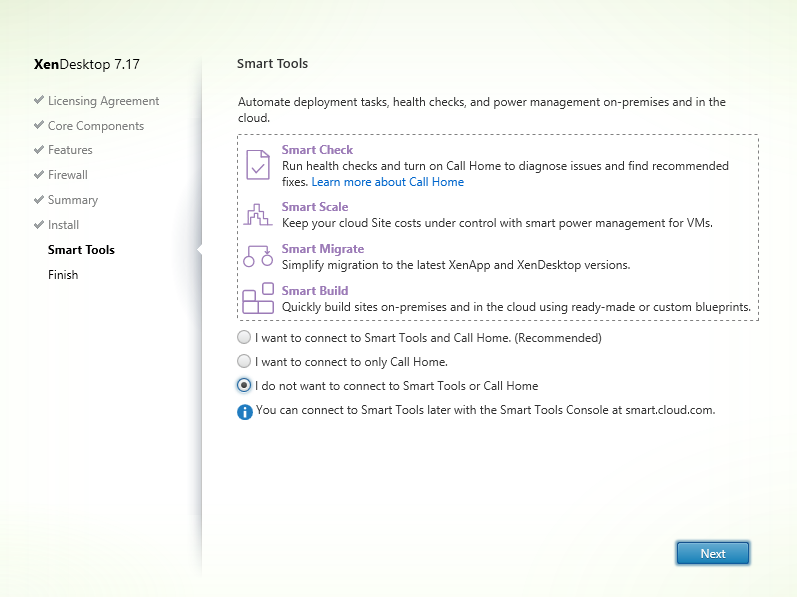
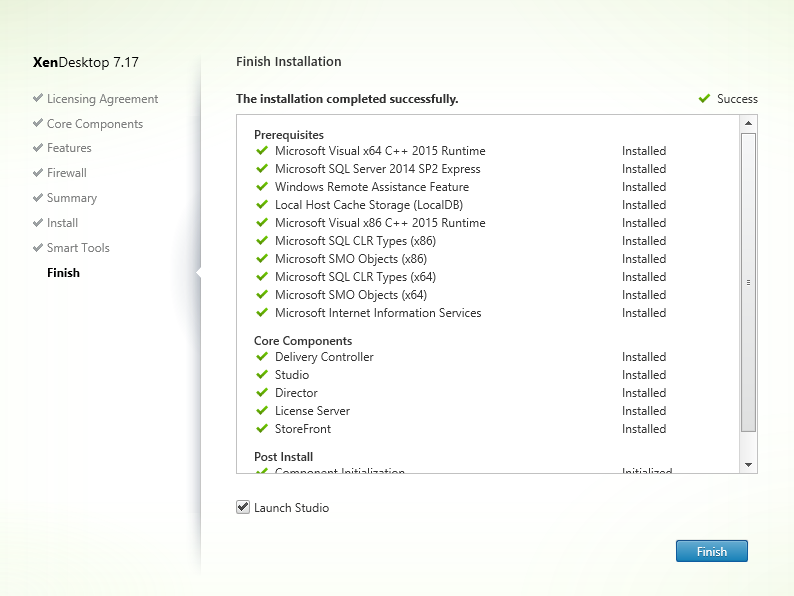
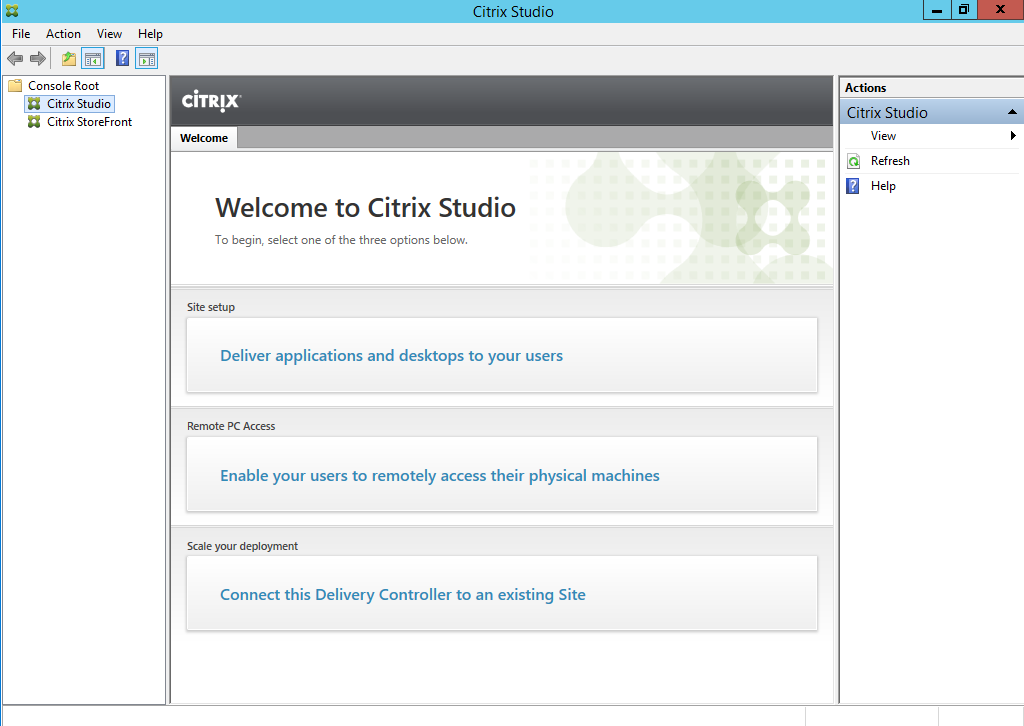
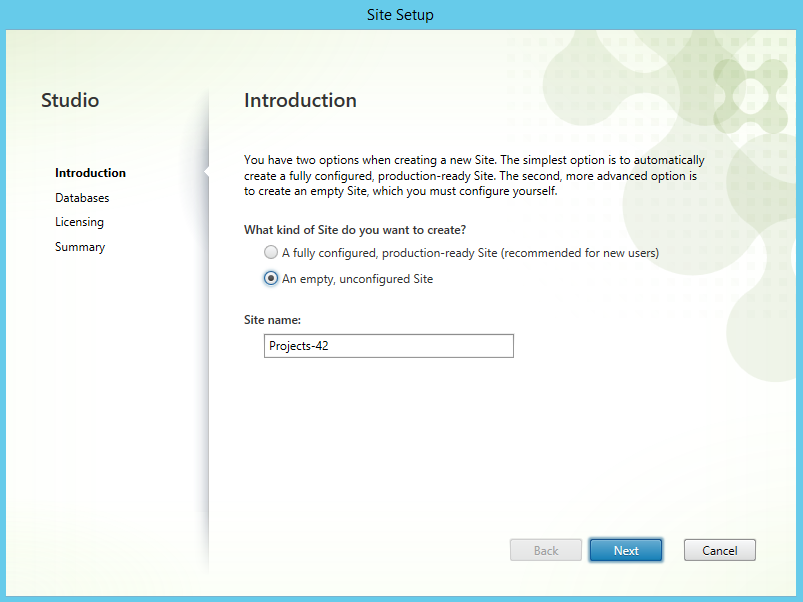
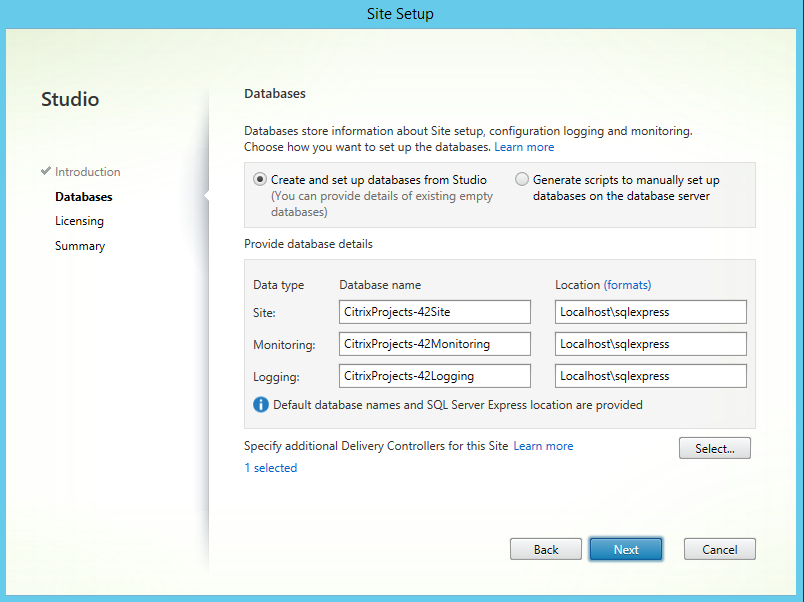
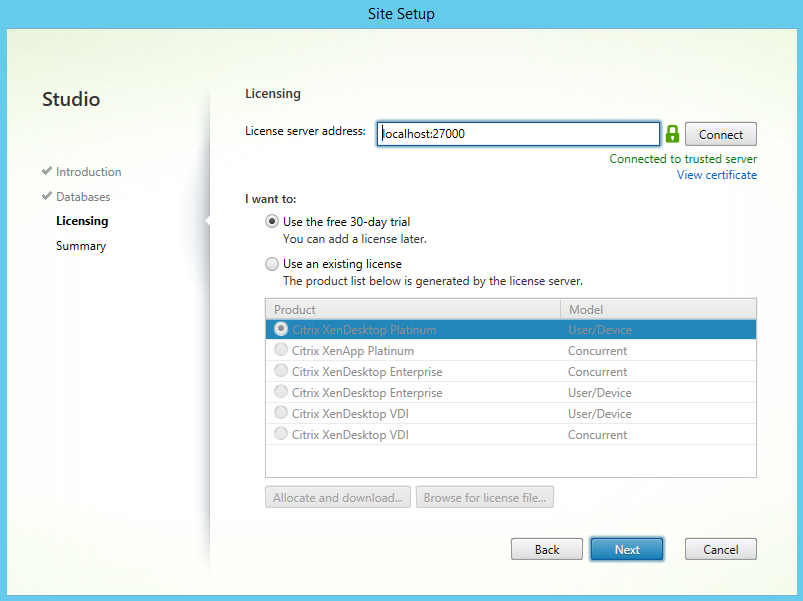
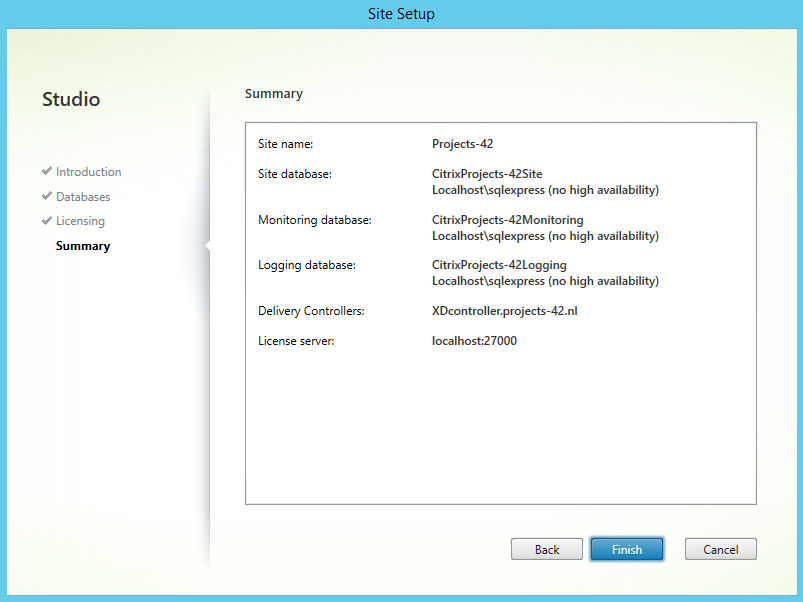
This article is a step by step installation guide for Xendesktop 1.17, lets get started.


After mounting, extracting or inserting the Xenapp/Xendesktop installation media and starting the installer we are presented with the above screen. Click the Start button next to “XenDesktop”.


Depending on the OS your using this screen may look slightly different. We want to install a new delivery controller so we will click on the Delivery Controller button.


After a short load time we are presented with the license agreement. click on the accept radio button and click Next.


We want to install all roles on the same server, click Next to continue.


I wont be using a separate MS SQL server so we can let the installer install a Express edition, click Next to continue.


The installer can open all needed default ports in Windows firewall, click Next to continue.


Click Next to continue.


Wait while the installation progresses, this may take a lot longer than 2 minutes.


The system needs to restart during the installation of the prerequisites, click Close to restart the system. After rebooting log in onto the machine and wait till the installation continues.


The setup continues where it left off.


Smart tools contain the recently introduced “cloud” features, i don’t need them in my lab environment so I select the last radio box and click Next


The the setup completed the installation, click Finish to start Citrix Studio.


We need to set up a site before we can add desktops/apps, etc. click on “Deliver applications and desktops to your users”.


Create an empty site, type a name and click Next.


The default database names are good enough for me and since we are using the default MS SQL Express installation the location is also good enough. Click Next to continue.


Because we have just installed the License server, the licenses have not yet been added. So we will use the trail for now. Click Next to continue.


Click Finish to continue.


Citrix Studio after setting up a site.

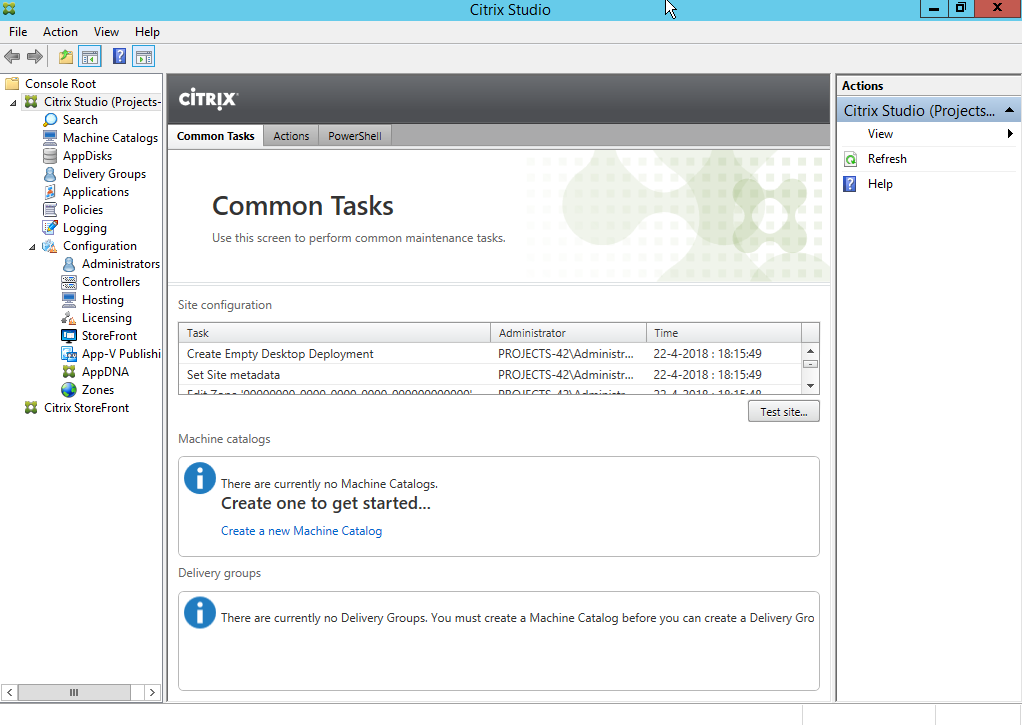
Now we have a empty site, we can set up storefront and add desktops/applications to the site but this will have to wait to the next part of this guide.