If you maintain a ICT infrastructure you probably use (or your looking to use) a monitoring solution to monitor your ICT infrastructure. Detecting, and fixing, problems before end users start experiencing them is something most ICT professionals love to accomplish, preferably every time a problem occurs.
Zabbix is an open-source monitoring solution for servers, network devices and (web) applications. In this article we will setup a Zabbix server and install the Zabbix client on a Linux and a Windows server.
Setting up the Zabbix Server
We will be using a Ubuntu 16.04 server for the Zabbix server (i know 18.04 is already out there but because of some hypervisor related problems i am not yet able to install 18.04).
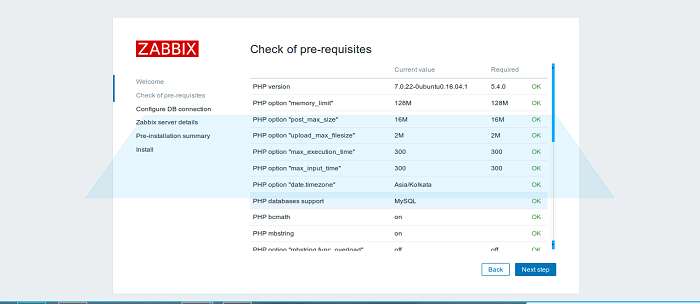
Before we start installing Zabbix, we need to install a number of prerequisites. to installe these type in (or copy) the following commands:
sudo apt-get update
sudo apt-get install apache2 libapache2-mod-php7.0 php7.0 php7.0-xml php7.0-bcmath php7.0-mbstring mysql-server -y
Now we need to add the Zabbix repository. This will ensure we will receive updates for Zabbix when the are released.
Zabbix uses an installer packet to add the repository to the system. Use the following commands to download and install the Zabbix repository:
wget http://repo.zabbix.com/zabbix/3.2/ubuntu/pool/main/z/zabbix-release/zabbix-release_3.2-1+xenial_all.deb
sudo dpkg -i zabbix-release_3.2-1+xenial_all.deb
With that out of the way we can install Zabbix server and agent.
sudo apt-get update
sudo apt-get install zabbix-server-mysql zabbix-frontend-php zabbix-agent -y
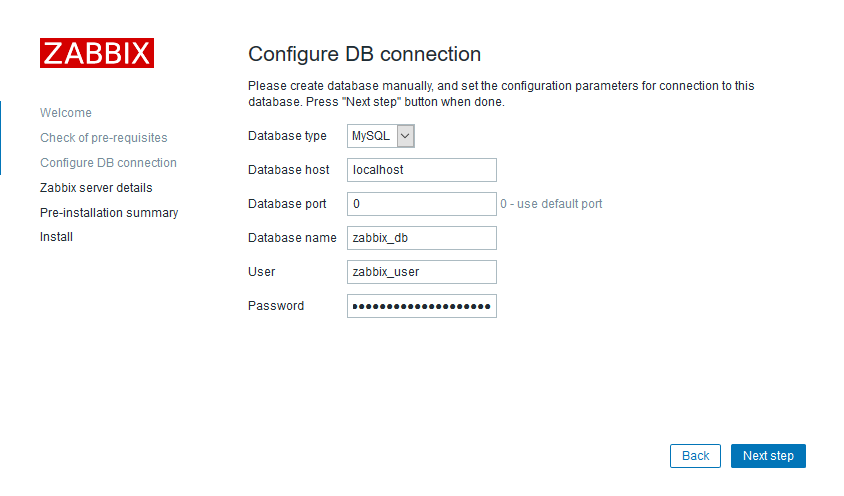
Because Zabbix wont create its own database we will need to take care of it, use the following commands to log in to the mysql server and create the database (change <zabbix_user> and <zabbix_password> to a username and password):
mysql -u root -p
CREATE DATABASE zabbix_db character set utf8 collate utf8_bin;
GRANT ALL PRIVILEGES on zabbix_db.* to <zabbix_user>@localhost identified by '<zabbix_password>';
FLUSH PRIVILEGES;
exit;

cd /usr/share/doc/zabbix-server-mysql/
sudo zcat create.sql.gz | mysql -u <zabbix_user> -p zabbix_db
Now we have to point the Zabbix server to the newly created database. First we need to open the configuration file:
sudo nano /etc/zabbix/zabbix_server.conf
Now we have to find the DB configuration and configure it as follows:
DBName=zabbix_db
DBUser=<zabbix_user>
DBPassword=<zabbix_password>
Next up is the timezone. we have to change this in two files, the Zabbix config and the php config. you can find your timezone in this list: http://php.net/manual/en/timezones.php
Use the following commands to edit the Zabbix config:
sudo nano /etc/zabbix/apache.conf

# fint the line:
# php_value date.timezone Europe/Riga

# Replace it with
php_value date.timezone <your_timezone>
Now for the php config:
sudo nano /etc/php/7.0/apache2/php.ini

# fint the line:
;date.timezone =

# replace it with
date.timezone = <your_timezone>
Now we can start Zabbix and make the service for the server and client start at boot (we also need to restart apache2):
sudo systemctl restart zabbix-agent
sudo systemctl restart apache2
sudo systemctl restart zabbix-server

sudo systemctl enable zabbix-server
sudo systemctl enable zabbix-agent
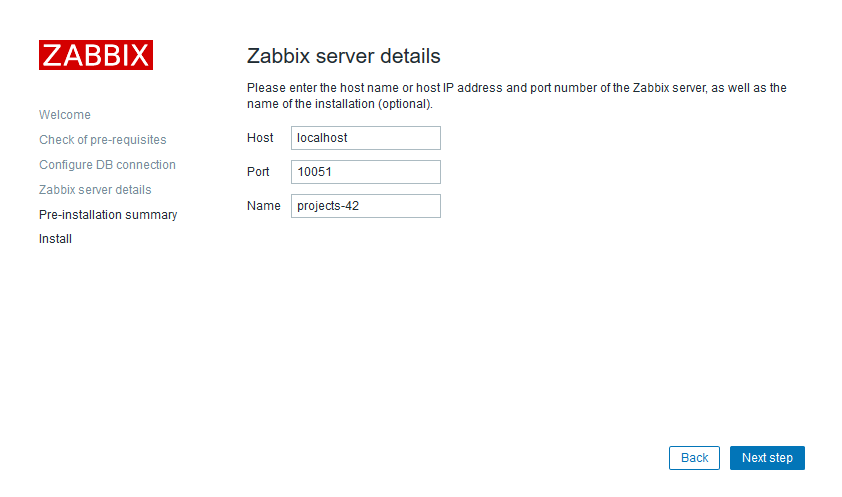
The zabbix server is now operational, so is the Zabbix agent. Now we have to configure the Zabbix web interface to be able to use the Server (and agent).
Navigate your browser to http://<the_ip_of_your_zabbix_server>/zabbix
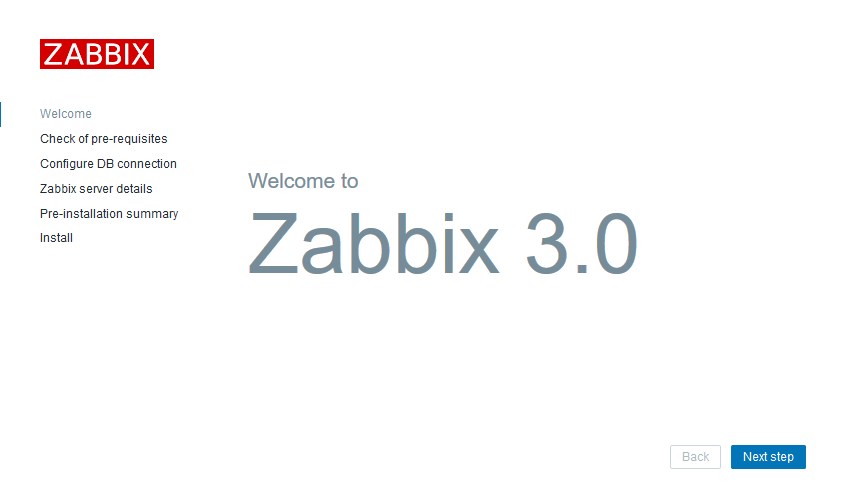
You page should look like the following image:

The default login credentials are username: “Admin” and password: “zabbix”. Both username and password are case sensitive.
Installing the agent on a Linux host
Although we already installed the agent on the zabbix server during the setup process, the process of installing the agent is explained here so it can be easily installed on other on Debian based Linux hosts.
First we need to add the repository (in my case I’m using xenial, if you are using another distro check this link for the available distro’s) :
wget http://repo.zabbix.com/zabbix/3.2/ubuntu/pool/main/z/zabbix-release/zabbix-release_3.2-1+xenial_all.deb
sudo dpkg -i zabbix-release_3.2-1+xenial_all.deb
Next up, install the agent:
sudo apt-get update
sudo apt-get install zabbix-agent -y
Now we need to tell the Zabbix agent where the server is located. To do this open the Zabbix agent configuration:
sudo nano /etc/zabbix/zabbix_agentd.conf

# find the line
Server=

#change it to
Server=<the_ip_of_your_zabbix_server>


# find the line
ServerActive=

#change it to
ServerActive=<the_ip_of_your_zabbix_server>


# find the line
Hostname=

#change it to
Hostname=<the_hostname>
Make sure the service is started (with the new configuration) and it will start automatically after the next reboot:
sudo systemctl restart zabbix-agent
sudo systemctl enable zabbix-agent
Were all done here.
Installing the agent on a Windows host
Before we can install the agent, we first need to download it. The agent can be found at the following page “https://www.zabbix.com/download_agents“. Unlike the Linux agent, the Windows agent is not packaged into a handy installer. Luckily the Zabbix team made it easy to install the Agent service.
After downloading the Zip file from the above link, we have to extract the agent and place it somewhere convenient. I placed my agent files in “C:\ProgramData\zabbix_agent\” but any directory will do.
Next we have to edit the “zabbix_agentd.win.conf” file which is located in the “conf” directory:
# find the line
Server=

#change it to
Server=<the_ip_of_your_zabbix_server>


# find the line
ServerActive=

#change it to
ServerActive=<the_ip_of_your_zabbix_server>


# find the line
Hostname=

#change it to
Hostname=<the_hostname>
We are now ready to install the agent service. We can do this by calling the “zabbix_agentd.exe” with the “–install” and “— config” parameters.
The command to install the agent service is:
<location_of_your_zabbix_agent_C:\_path>\bin\<win64_or_win32>\zabbix_agentd.exe --config <location_of_your_zabbix_agent_C:\_path>\conf\zabbix_agentd.win.conf --install
To remove the agent use the following command:
<location_of_your_zabbix_agent_C:\_path>\bin\<win64_or_win32>\zabbix_agentd.exe --config <location_of_your_zabbix_agent_C:\_path>\conf\zabbix_agentd.win.conf --uninstall
If you open the “services” mmc snap-in you will see the “Zabbix Agent” service installed and ready to go.
Add a host to Zabbix
After installing the server and agent components we can finally start adding hosts to Zabbix.
To add a host, log in to the Zabbix webinterface, navigate to “Configuration”->”Hosts” and click the “Create host” button at the top right side of the screen.
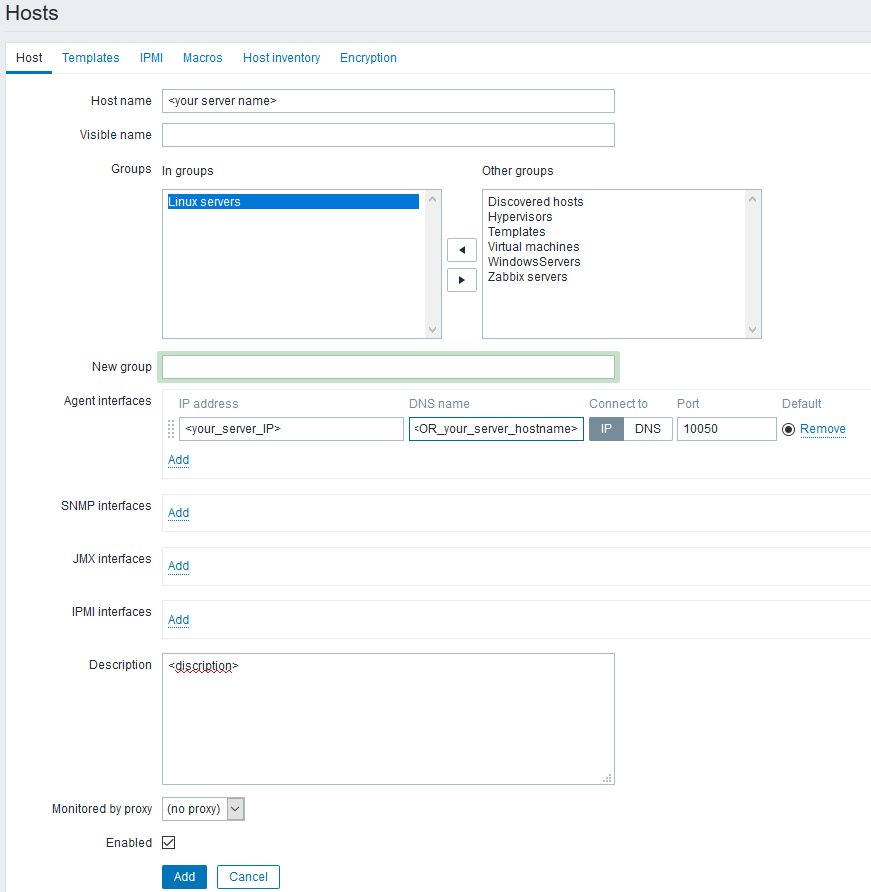
Optionally you can add templates to the host (the default groups alredy have templates linked to them).
It can take some time (up to 50 min) to get the first redings in the Zabbix web-interface.
Congratulations, you now have a working Zabbix server with at least one host. Happy monitoring 🙂