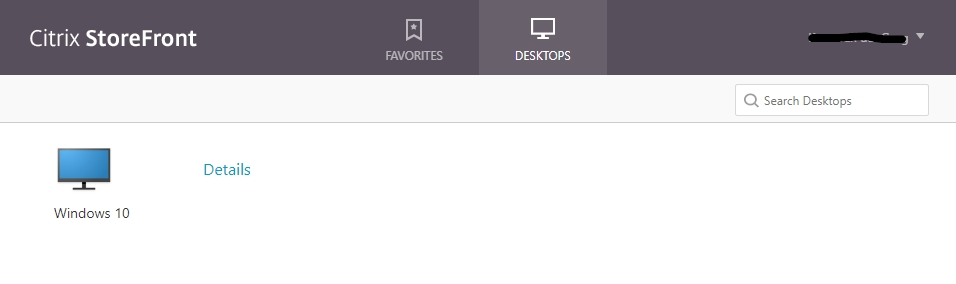
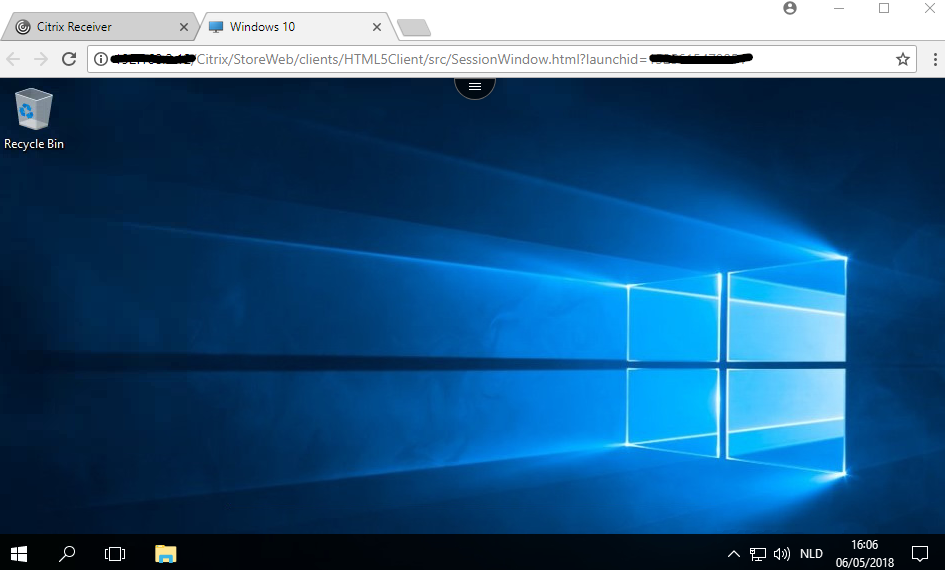
After setting up the delivery controller and configuring storefront to allow the HTML5 Receiver it is finally time to add a desktop to the mix.

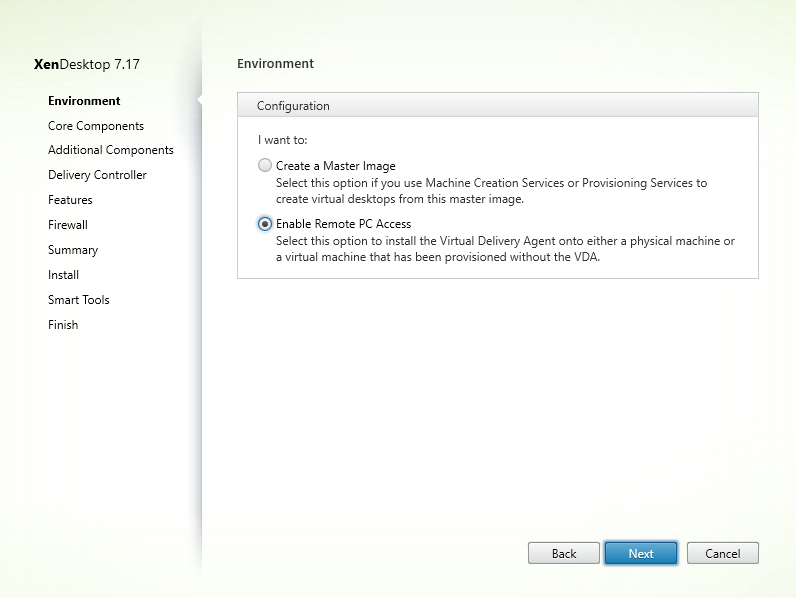
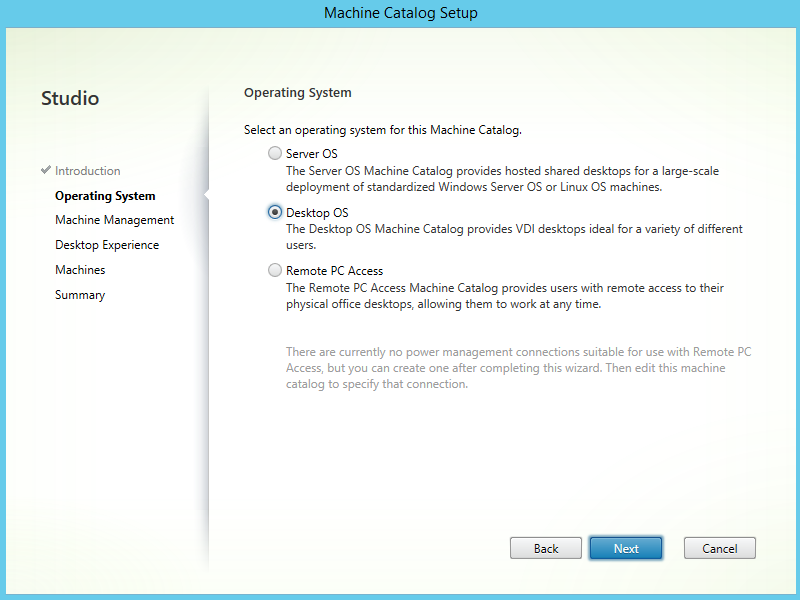
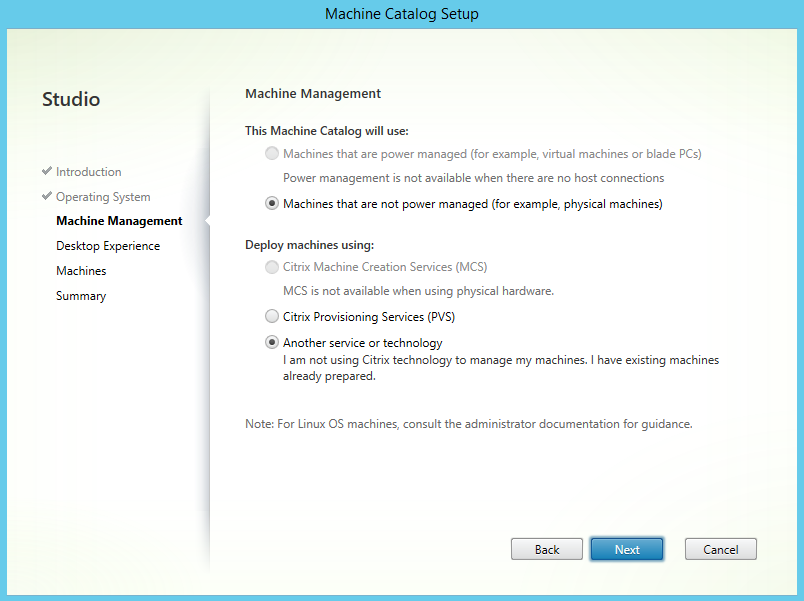
In this step by step article we will be adding a single desktop in “remote PC access mode”. this means that XenDesktop wont power manage the desktop and we wont be able to mass deploy it (its not a golden image).

This might sound a little disappointing but its good for the basics, if your setting up a lab environment you probably want it this way because its way more flexible and when you have your image the way you want it, you can always re add it with a differed configuration.

Lets get started.

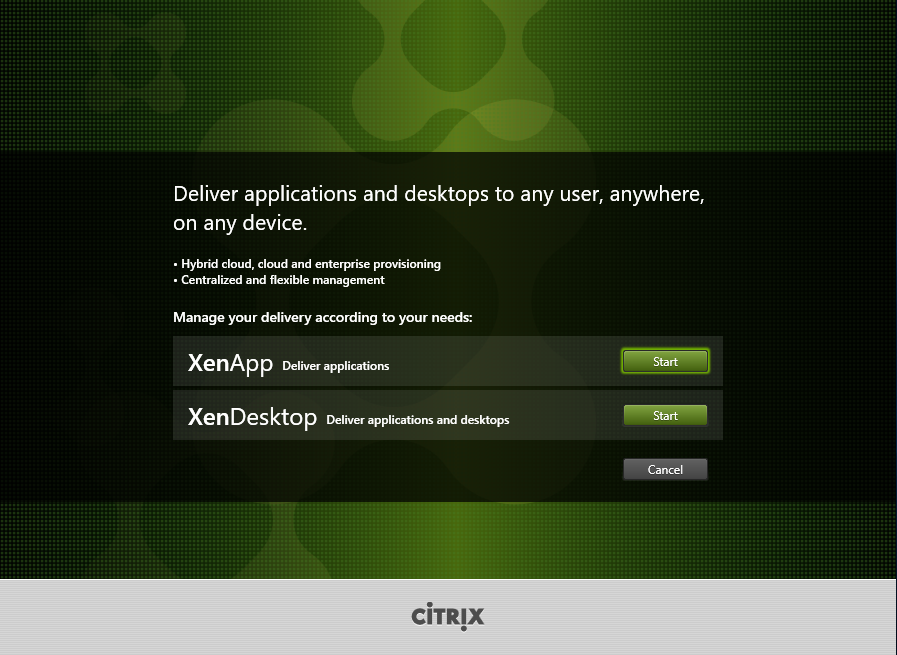
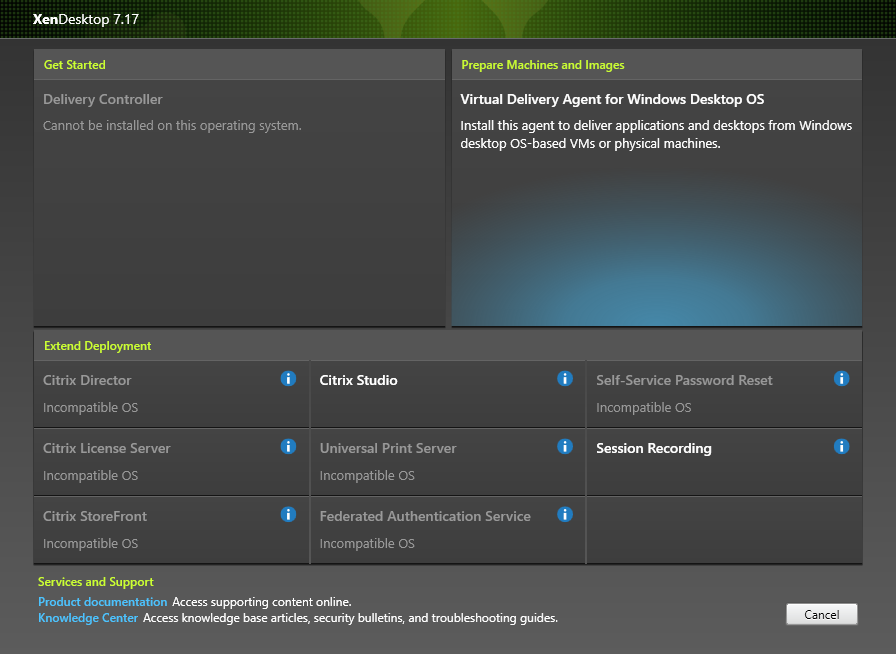
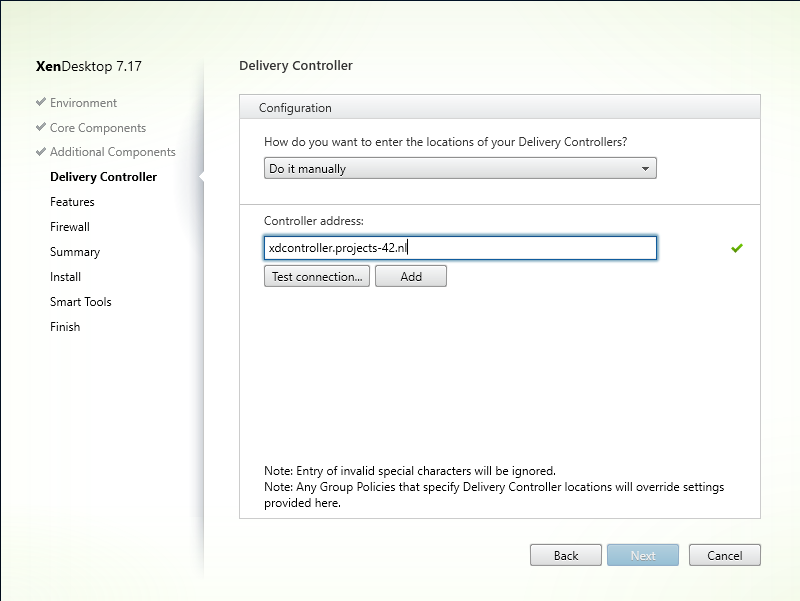
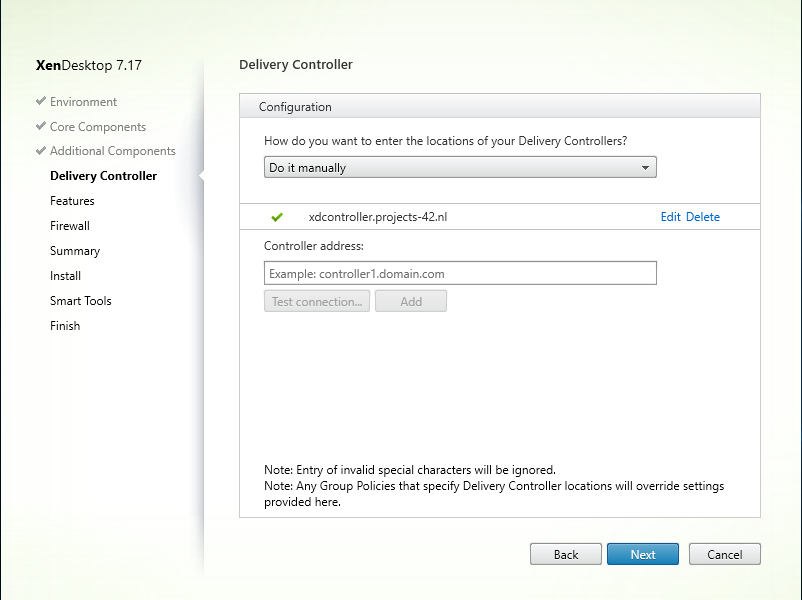
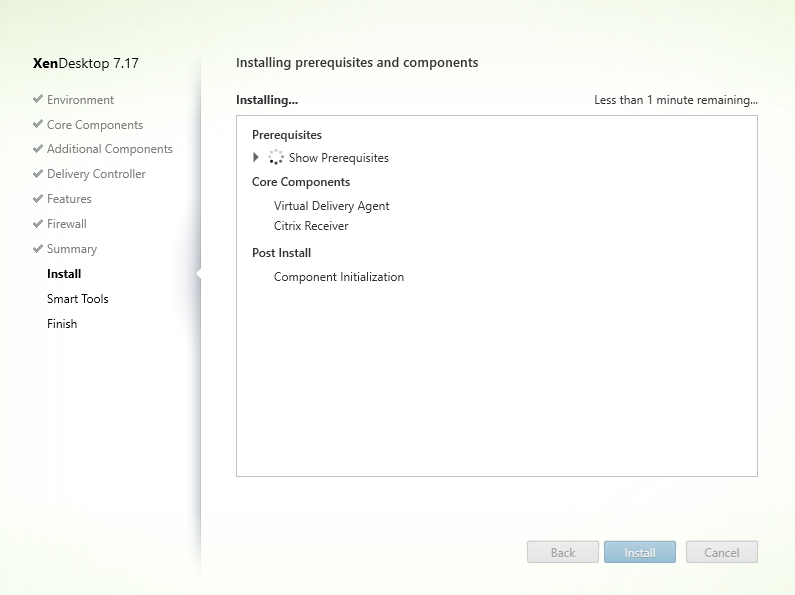
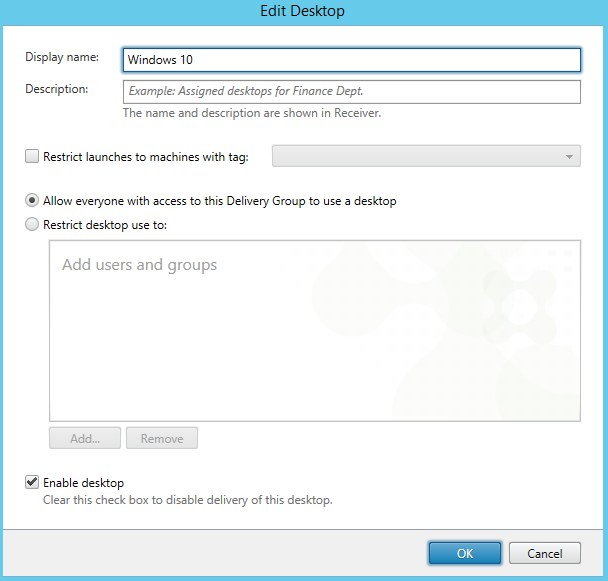
We start by installing the XenDesktop VDI agent on the VM. In my setup this is a Widows 10 VM but you can use all supported versions (7 to 10 at this time) and even some Linux distro’s!

After installing windows on a new VM we can start the XenDestkop/Xenapp installer. This is the same installation media used for setting up the delivery controller. Click the Start button after the XenDesktop row to start the installation.


Click the “Virtual Delivery Agent for Windows Desktop OS” button to start the installation process.


Just like I wrote earlier I’m installing in Remote PC mode. In this case i want only one VDI and i’m not interested in rolling out a new set of VDI’s after every change (lab enviroment, remember). So select “Enable Remote PC Access” and click Next to continue.


We might as well install the Receiver in the VDI, if we want to use Xenapp applications we can do it from inside the VDI (saves a lot of mouse work). Click Next to continue.


I wont be using any of the additional components in this particular VDI. If you think you need any (supportability tools and profile manager are very useful if your planning to deploy the VDI to multiple users), select them and click Next to continue.


Now we need to add specify the deliver controller. you can do this manually or using AD. I only have one delivery controller and i don’t mind typing the name. Type the FQDN for the delivery controller, use the “Test connection..” button to verify there is a delivery controller on the other side of the line. Click Add.


After clicking Add. the screen looks like the above image (but probably with an other FQDN). if you don’t want to add another delivery controller click Next to continue.


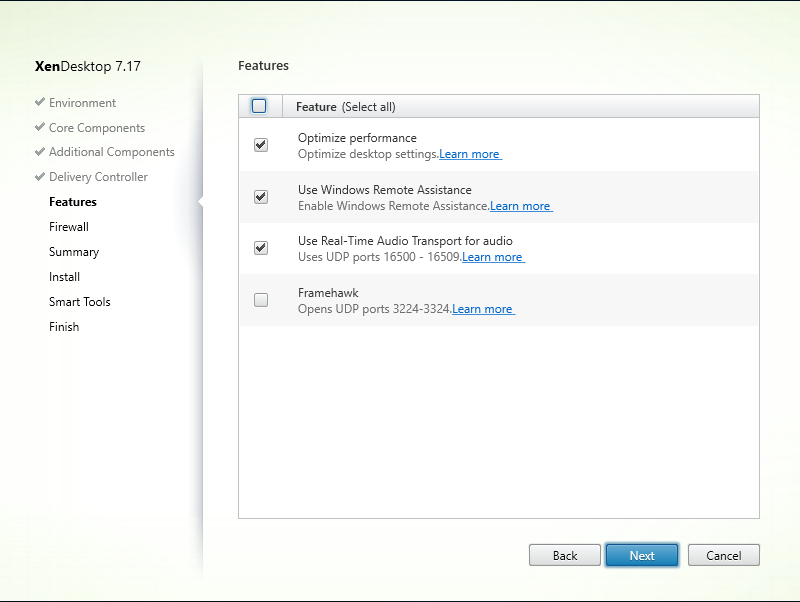
Now were able to select features, everyone wants to optimize performance so that will be an easy pick ๐Ÿ˜‰ . Remote assistance is needed if we want to use the shadow functionality from Citrix Director. Real-Time audio kind of explains itself. Framehawk is new transport protocol optimized for low bandwidth WAN connections. In my case I want everything but Framehawk.

Select the features you want and click Next to continue.


The can create firewall rules for windows firewall. If you are running Windows firewall you can let the setup do its thing. Otherwise you have to make the rules yourself. Click Next to continue.


The setup has all information to start installing. It politely shows what its going to install on your system. Click Install to start installing.


The installation will take up a good 10 minutes (depending on your system). we have to wait till its finished.


After installing the setup wants you to enable call home, the Citrix telemetry service. I don’t need nor want telemetry services so thanks but no thanks. Click Next to continue.


Now the setup is truly done. After restarting the system will be good to go. Click Finish to restart the machine.


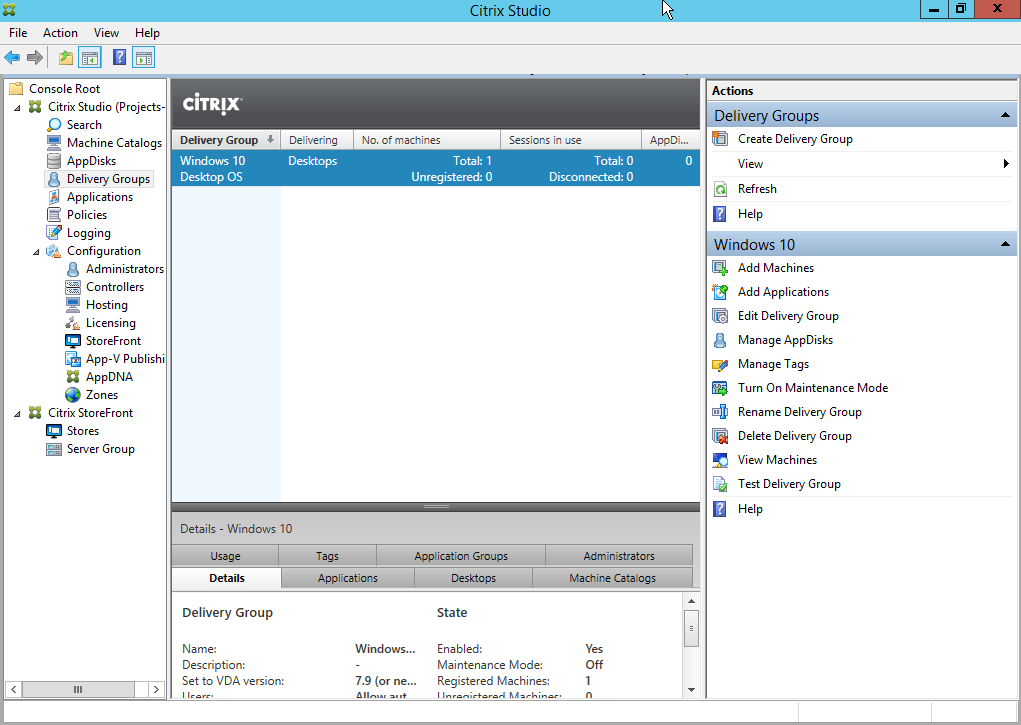
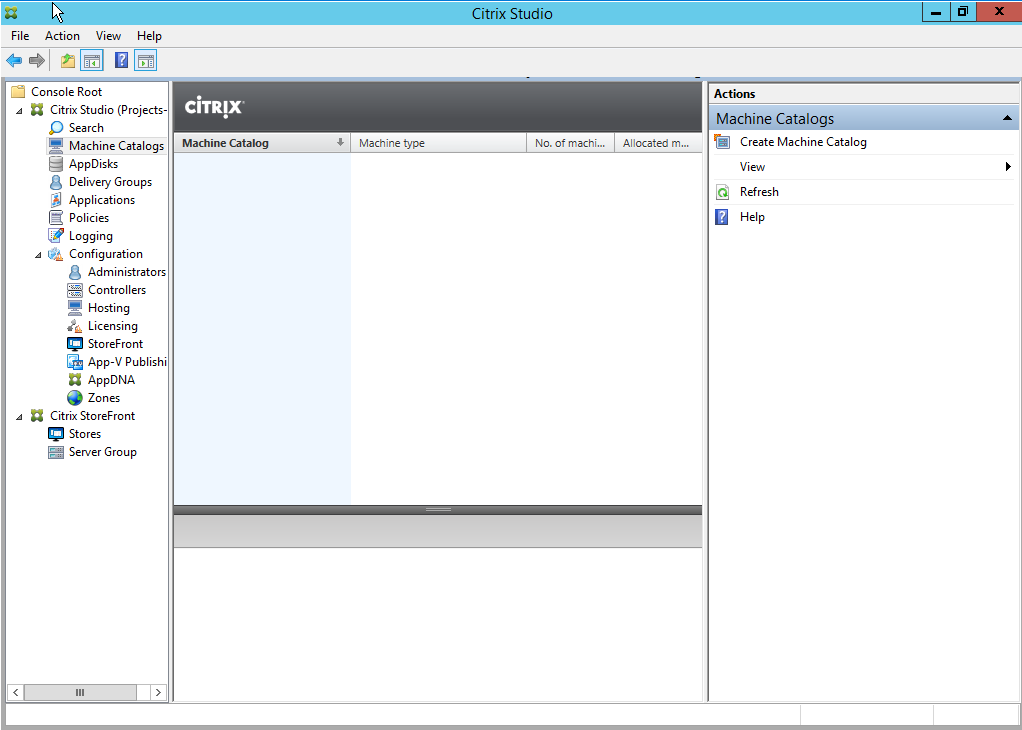
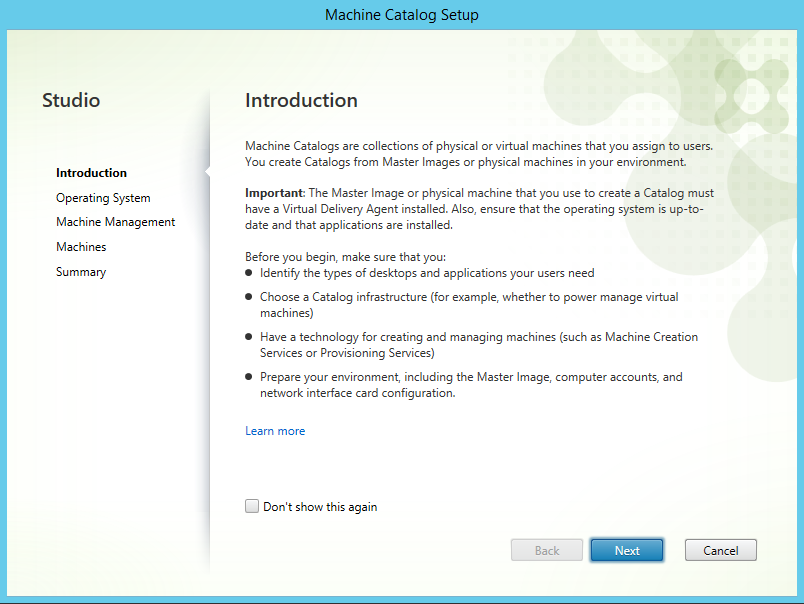
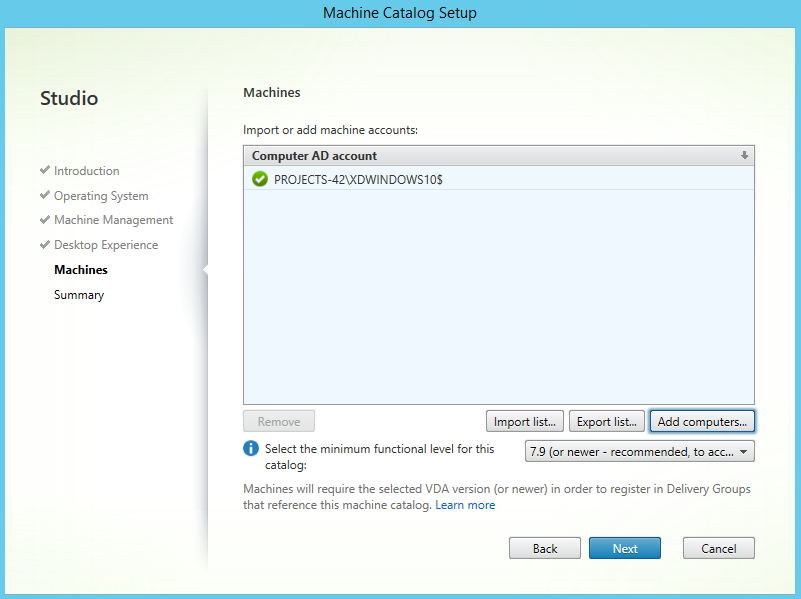
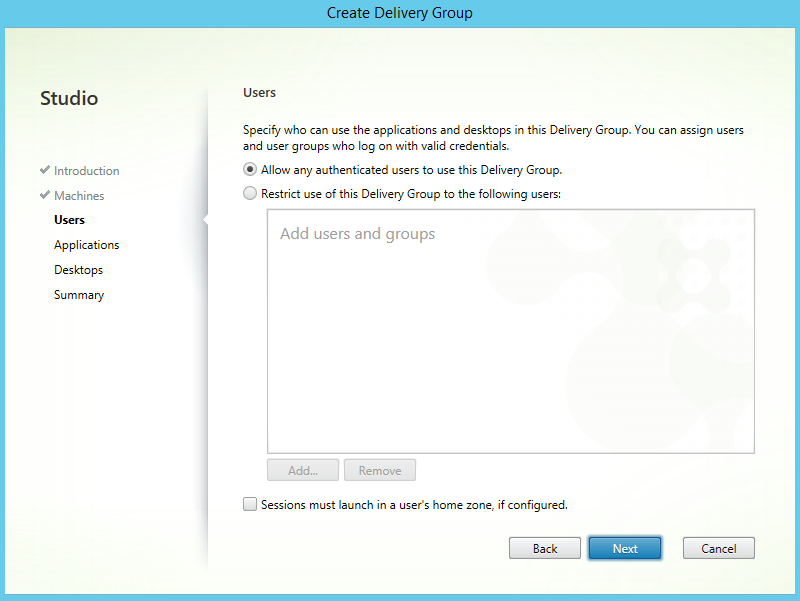
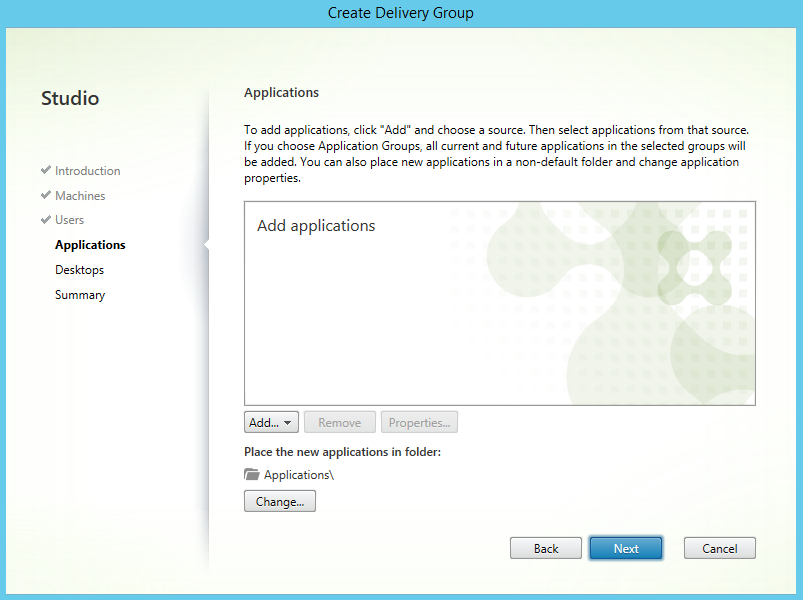
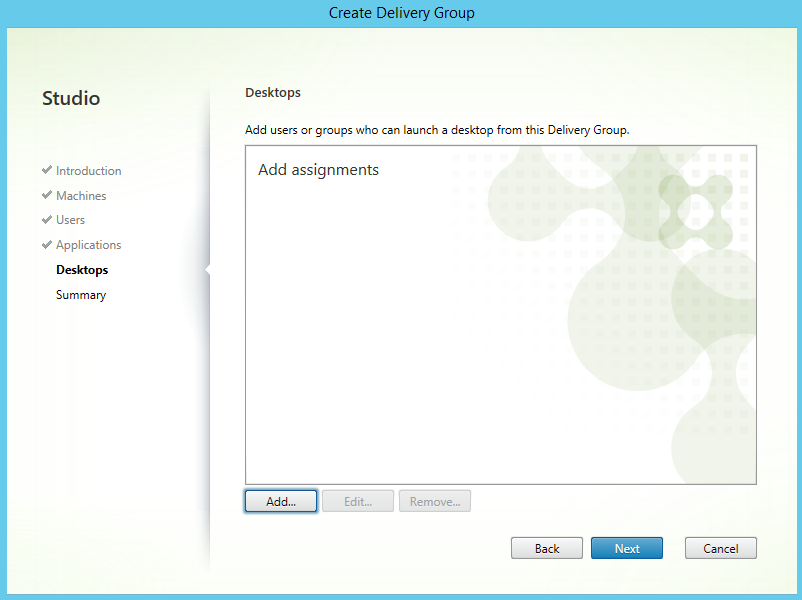
Now were done on the VDI side of things. We will continue the operation on the delivery controller with Citrix Studio.

In Citrix Studio, navigate to the Machine Catalogs tab and click the “Create Machine Catalog” link on the right side of the screen. This will open the Machine Catalog Setup wizard.


Click Next to continue.


Were adding a Desktop OS system so select the “Desktop OS” radio button and click Next to continue.


Since we only want one VDI and were not letting Xendesktop power manage it we select the appropriate radio buttons (no power management and another service or technology). Click Next co continue.


Since we only have one VDI and we might have multiple users we will be using a random pool. Click Next to continue.


We have to define the VDI’s we want to add to the pool. This is not necessary if your using an other provisioning technology like PVS or MCS. Click “Add computers…” type the name of your computer and Click OK.ย Since were using the latest version of Xendesktop we can live the functional level the way it is. Click Next to continue.


Type a name for the Machine Catalog and click Finish.


We have now created a Machine catalog with a machine in it ๐Ÿ™‚ . Lets add it to a delivery group so we can start it from the Receiver.


Navigate to the “Delivery Groups” tab in Citrix Studio and click the “Create Delivery Group” link on the right side of the screen to.


At the “Create Delivery Group” wizard introduction page, click Next to continue.


At the Machines tab, select the machine catalog we created earlier, set the number of machines to 1 (we only have one machine in the catalog) and click Next to continue.


At the Users tab, we can chose to limit the availability of the desktop group to specific users and or groups. In this lab setup all users may access the delivery group so we just click Next to continue.


If we want to publish applications, this is the place to do it. Since we want to publish the entire desktop we wont publish applications. Click Next to continue.


Because a delivery group can house multiple types of desktops (for example desktops with and without GPU acceleration), we have to at least one desktop assignment. Click the “Add…” button to continue.


Type in a display name for the delivery group, this is the name the end user will see in the Receiver. We can restrict this desktop assignment rule to desktops with a specific tag. Tags can be added for individual desktops from the search tab in Citrix Studio. We can restrict which users will be able to use the desktops, in this case all users are allowed to use the published desktop. Click OK to continue.


One desktop assignment added. Click Next to continue.

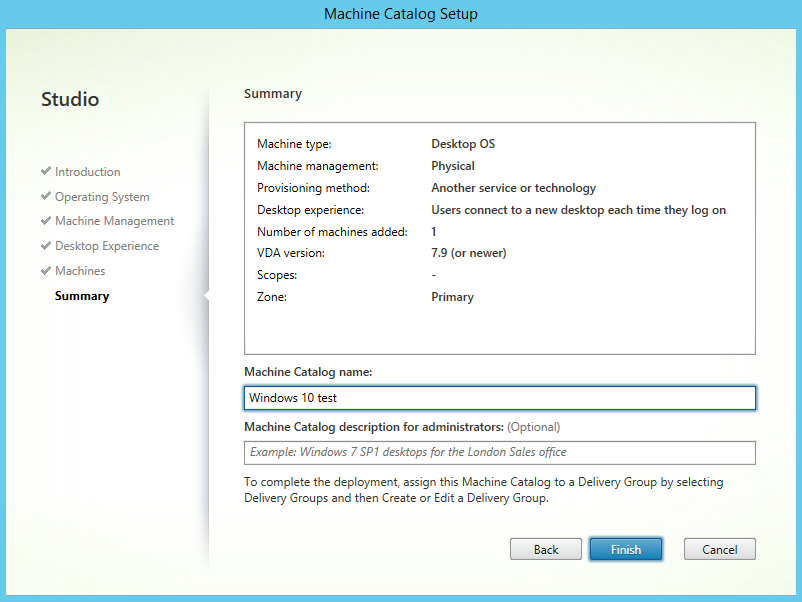
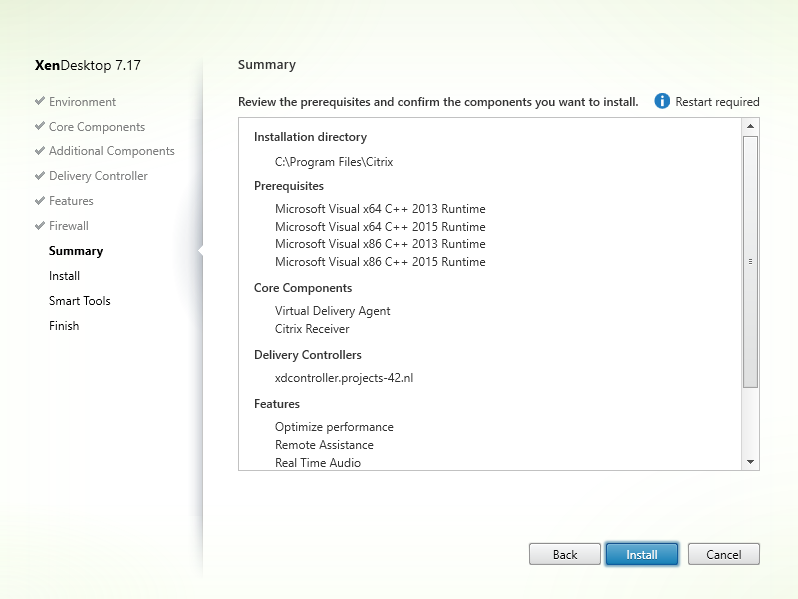
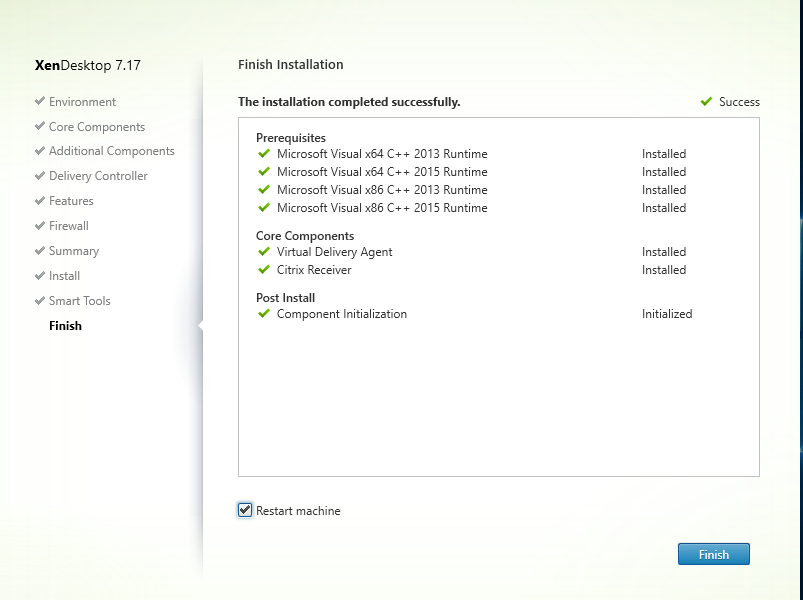
For some strange reason I forgot to take a screenshot of the Summary page. Luckily the summery page displays no new information.


Assuming we have clicked the Finnish button on the summary page, we are now back at Citrix studio. It shows the newly added delivery group, so we can go and see if the desktop is added to the Receiver.


Yep, its showing up on the Receiver side of things. Lets fire it up.


One windows 10 Desktop sitting happily in a webbrowser, i love progress ๐Ÿ™‚ .