Almost everyone knows the online productivity platform Trello. Trello is a Kanban tool and can be used virtually every problem as long as the problem involves tracking something. Whether you are trying to keep track of time, tasks or inventory, Kanban is a good way to go.
Kanban was was originally designed as a inventory control system, to help automate production lines in factory’s. Over the years countless tools (like Trello) have been created to help with using Kanban for various purposes. Nowadays lots and lots of people use those Kanban tools without knowing anything about the Kanban method. And for most of them, this works just fine.
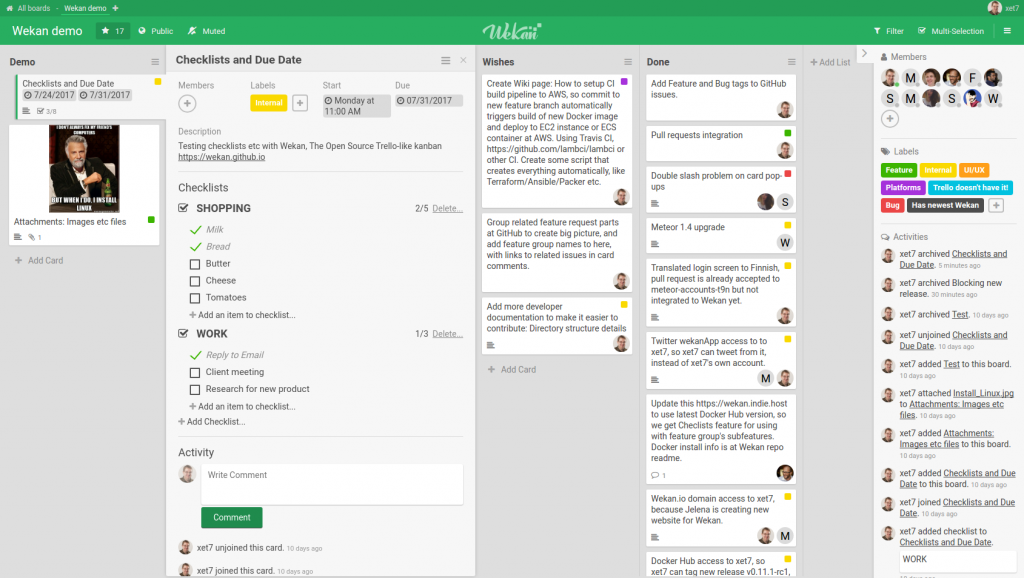
This post is not about the Kanban method, its not even about a Kanban tool. It is about setting up a self-hosted Kanban tool.
Now the first question is, why would you host you’re own Kanban tool while there are plenty free tools on the marked? Well, it mostly comes down to security, trust and privacy. When I’m working on a project, I want to be able to put sensitive data on my carts. While this data often is not interesting for a company like Trello it might be interesting for other company’s. In my opinion the question you should be asking yourselves is, do you trust a company like Trello with the data you want to put on to there service, do you expect them not to make money of a “free” service and can this impact your business in a negative way.
So after using Trello for some time, i started looking into a good self-hosted solution. I tried a number of Kanban tools, and eventual chose for Wekan.
Of course self-hosted applications wont work directly after you have chosen to use them, you need to run them on your own system/server (or on a cloud-hosted system, VPS, etc.).
You can get Wekan from there releases page, they serve Wekan in 4 flavors:
- A docker container
- A sandstorm App
- A Ubuntu Snap package
- A virtualbox image
because I was already planning on using a Ubuntu server for this project, the Snap package was the logical choice.
Snap packages are super easy to set up, you basically execute the command:
$ sudo snap install <snap_package_name>
On the Wekan wiki there is a short and to the point installation tutorial, but for basic installations the following will be sufficient:
$ sudo snap install wekan
After the above command completes, Wekan will be running at “http://<ip_of_the_system>:8080”.
When you navigate to the fresh Wekan installation, you don’t have a user account to log in with. in stead use the build in registration feature on the login page. The first user you will create will automatically be a administrator.
Great, now we have a working local Wekan installation. The next step is to make this installation available to the big and scary world wide web. And because we font want to send our sensitive data over the internet unencrypted, we will also implement TLS with Lets encrypt
In my situation, the server running Wekan and the main web server are 2 separate Ubuntu installations. For this to work we will use a reverse proxy, and because my main web server runs Apache it will be a Apache reverse proxy. If you are using the same installation for both, the next part will not be needed, see the Wekan wiki for more information on this.
First we need to enable the Apache reverse proxy, SSL and header mods (if the are not enabled already).
$ sudo a2enmod proxy
$ sudo a2enmod proxy_http
$ sudo a2enmod headers
$ sudo a2enmod ssl
$ sudo service apache2 restart
When this is done we will create a new virtual server config for the http version of the Wekan installation, this virtual host will only be used for the Lets encrypt certificate validation, so int wont actually point to the Wekan installation.
# first create a directory for the virtualhost and set the webserver user as owner
$ sudo mkdir /var/www/wekan
$ sudo chown www-data:www-data /var/www/wekan

# now create the site config
$ sudo nano /etc/apache2/sites-enabled/wekan.conf

# input the followin (change where needed)
<VirtualHost *:80>
        ServerAdmin <youre email address>
        DocumentRoot /var/www/wekan
        servername <website adres wekan.example.com>

        ErrorLog ${APACHE_LOG_DIR}/wekan_error.log
        CustomLog ${APACHE_LOG_DIR}/wekan_access.log combined
</VirtualHost>
Now we can run the Lets encrypt cert-bot and follow the instructions onscreen (if you don’t have cert-bot installed, you can install it by typing “sudo apt-get install certbot”:
$ sudo certbot
The Cert-bot wizard will have created a file named “wekan-le-ssl.conf”. Open this file with your favorite editor (I use nano) and edit it to reflect the following (make changes where needed):
<IfModule mod_ssl.c>
    <VirtualHost *:443>
        ServerName <youre_site_hostname>
        SSLEngine on
        SSLProxyEngine on
        ProxyPreserveHost on
        SSLCertificateFile /etc/letsencrypt/live/<youre_site_hostname>/fullchain.pem
        SSLCertificateKeyFile /etc/letsencrypt/live/<youre_site_hostname>/privkey.pem
        Include /etc/letsencrypt/options-ssl-apache.conf

        ProxyPass / http://<wekan_ip>:8080/
        ProxyPassReverse / http://<wekan_ip>:8080/
        Header always set Strict-Transport-Security "max-age=63072000; includeSubdomains;"
        <Proxy *>
            Order deny,allow
            Allow from all
        </Proxy>

        ServerAdmin <your_email>

        ErrorLog ${APACHE_LOG_DIR}/wekan_error.log
        CustomLog ${APACHE_LOG_DIR}/wekan_access.log combined
</VirtualHost>
</IfModule>
Now restart apache2 on the webserver:
$ sudo service apache2 restart
You can add a redirect to the http version of the site, so you wont have to type “https://” every time you want to visit your Wekan installation.
# create a redirect index.html
$ sudo nano /var/www/wekan/index.html

# insert the following (edit where needed)

<HTML>
<head>
<meta http-equiv="refresh" content="0;URL=https://<your_domain_here>/" />
</head>
<body>
nothing to see here, go to <a href="https://<your_domain_here>/">this location</a> for a more useful page.
</body>
</HTML>
After the above changes we need to let Wekan know its new url (the one you will be using to access Wekan), this can be done using the following command:
$ sudo snap set wekan root-url="https://<your_wekan_url>"
After this last change, the Wekan service needs a restart:
$ sudo systemctl restart snap.wekan.wekan
Congratulations, You now have a working Wekan installation which is accessible from the internet.
Having the Wekan installation up and running is one thing. Maintaining it is another. Luckily over at Wekan there are a number of articles for maintaining your Wekan server, one of the most important ones is “backup and restore“. From time to time you might want to update your Wekan installation. Upgrading a snap packet is just as easy as installing it, just enter the following command:
$ sudo snap refresh wekan
Have fun with your Wekan installation
featured image from: https://en.wikipedia.org/wiki/Kanban_board